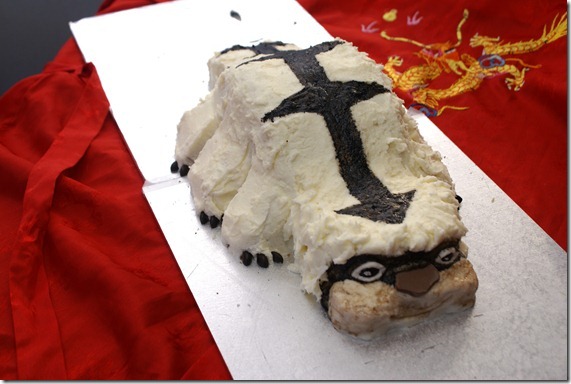
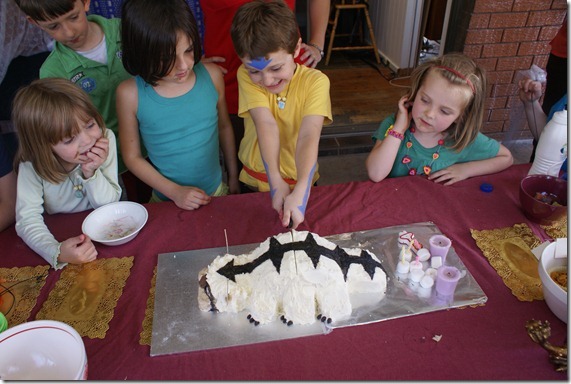
This is the cake I made for my son’s Avatar The Last Airbender 7th birthday party.
To make Appa I used the Easy Vanilla cake recipe found on taste.com.au
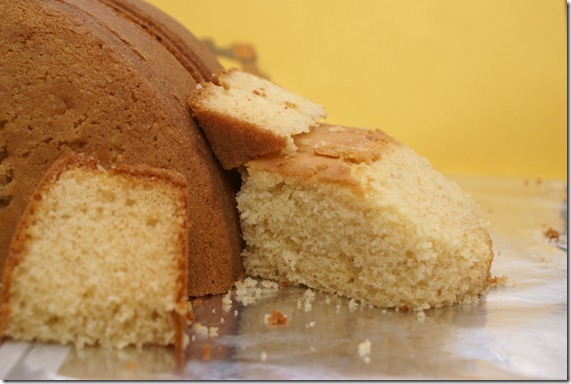
I divided the mixture in half and baked two cakes, one a 20cm round and the other a 24cm square.
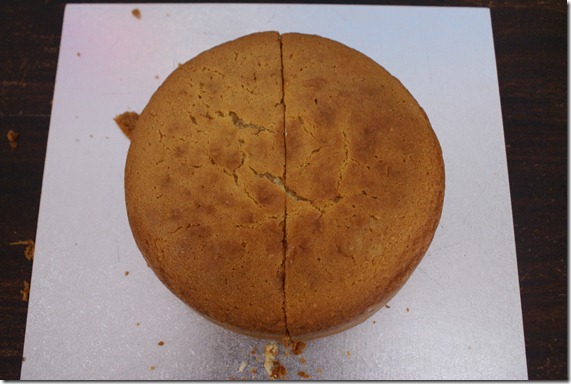
Cut the round cake in half.
Stand both halves pressed up against each other on the board you are using to display your cake. The cut edge should be face down.
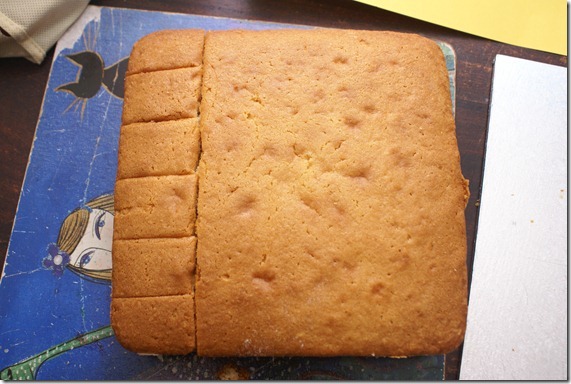
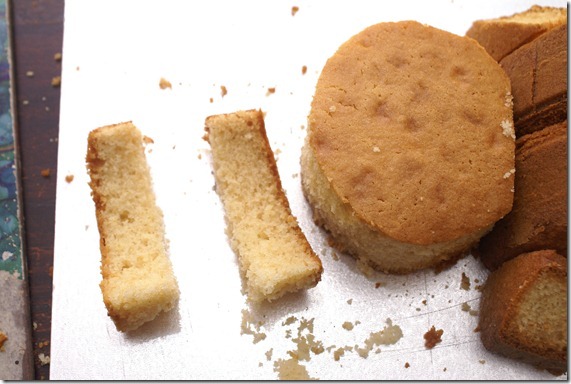
Cut a strip approximately 5cm wide off the square cake.
divide this strip into 6 even pieces. These are Appa’s feet.
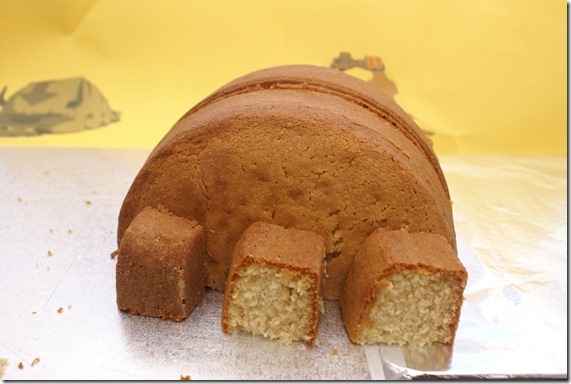
Now you have Appa’s back and feet. See how the two halves push together to make his wide back and the 6 little squares are positioned 3 on each side.
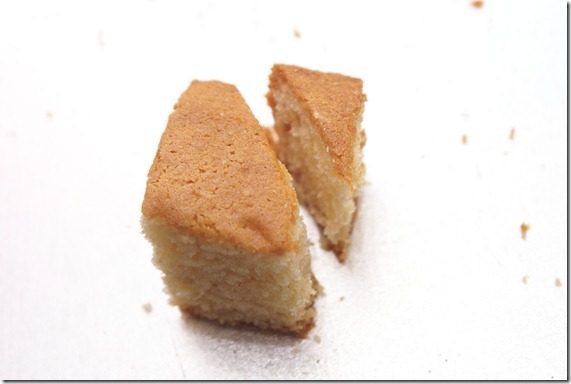
I decided to cut a triangle off each of his legs so that they would slope back towards his body. Do Not eat all these triangles now keep at least 2 for later use,
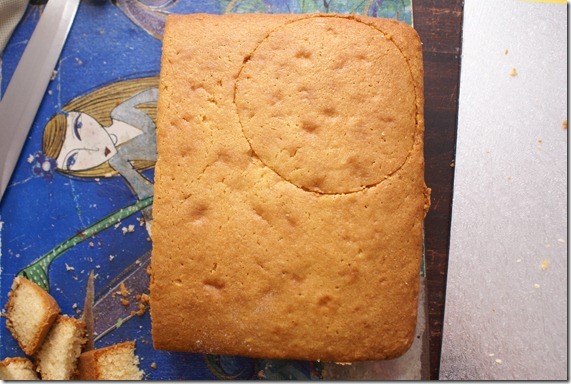
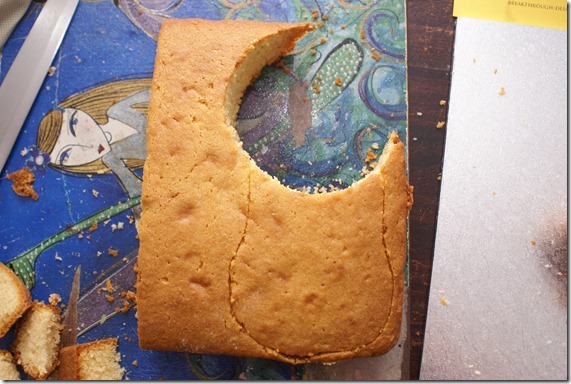
Now cut a head sized circle out of the remaining piece of the square cake. (I think I drew around a masking tape roll)

Cut a flat edge off your circle and push this edge up against the body.
You now need to cut a piece to be his cheeks. Use the edge where the circle has come from so that these to pieces will fit snuggly together.
Lay the cheek piece down on it’s side and cut in half this will mean his cheeks are half the height of his head leaving room for his eyes. It will be easier to ice later if you use the cheek piece that was originally the top of the cake.
Now cut a big fat tail shape out of the rest of your square cake, I just did this free hand.
shave his tail down till it looks like a smooth transition from body to tail to floor. This is where I used the two triangles from Appa’s legs.
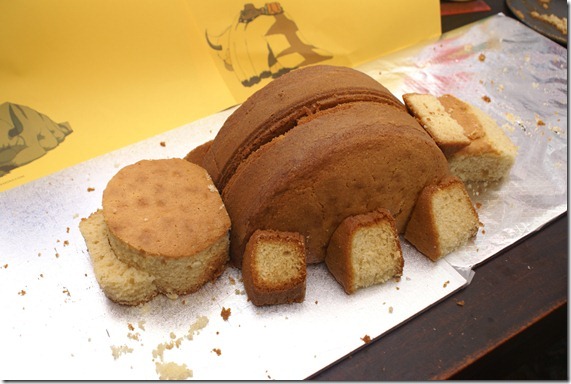
So this is Appa all pieced together.
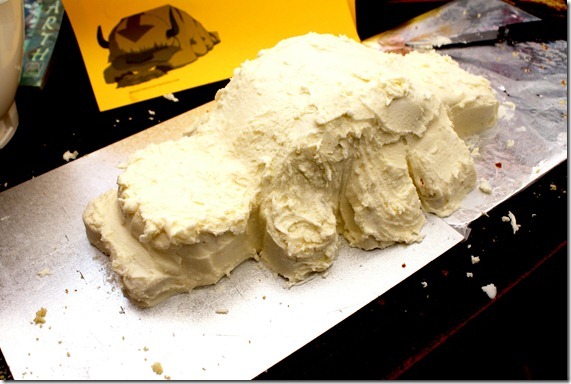
cover him with butter icing. I used at least one and a half bags of icing sugar, maybe two. I wanted it on thick so I could make the shaggy Appa fur.
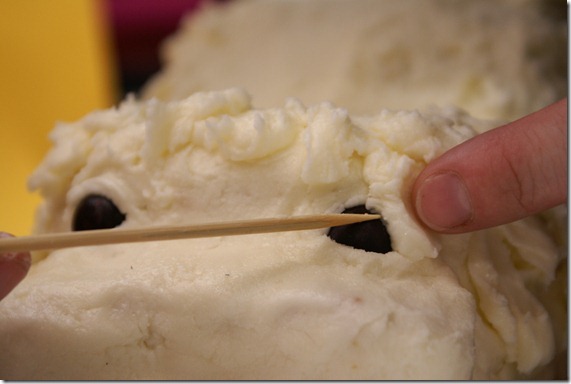
Before the icing sets you need to shape the face. I used two brown M’n’M’s pushed into the icing for the eyes. This however means that you will need to buy a whole bag of M’n’M’s just to use a few so you will have to put up with the job of consuming the rest of them while finishing the cake.
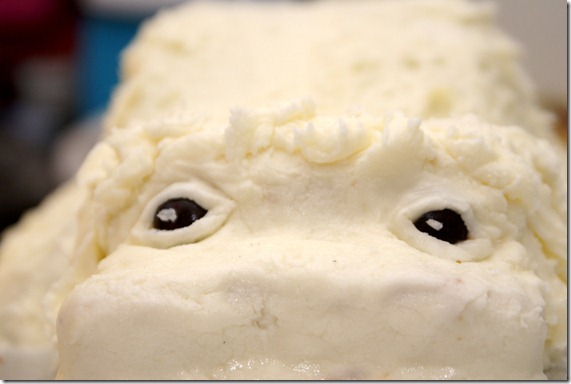
I used dots of icing sugar to make the light spot on his eyes.

Hope you haven’t eaten all the brown M’n’M’s yet. You need 9 cut in half to be his toe nails.
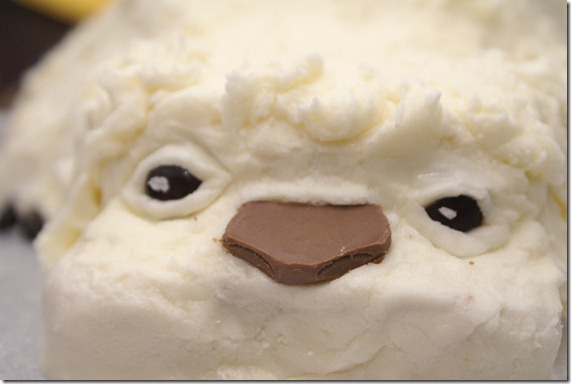
Cut the head off a chocolate frog and turn it upside down to be the big nose, I added a couple of grooves for nostrils.
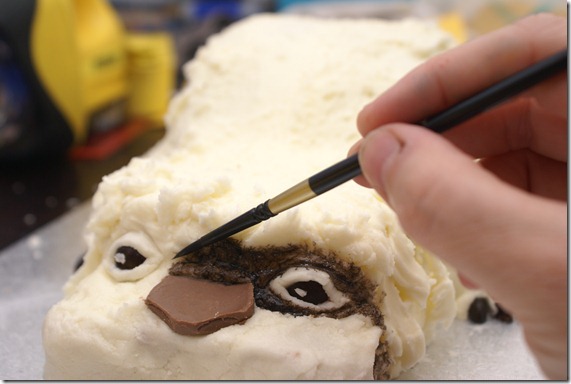
Now you can paint on the rest of the details. I made a brown colour using red, yellow and blue food dyes mixed together. This shade was used around his eyes and on his arrow.

then I watered it down to paint his cheeks and his mouth.
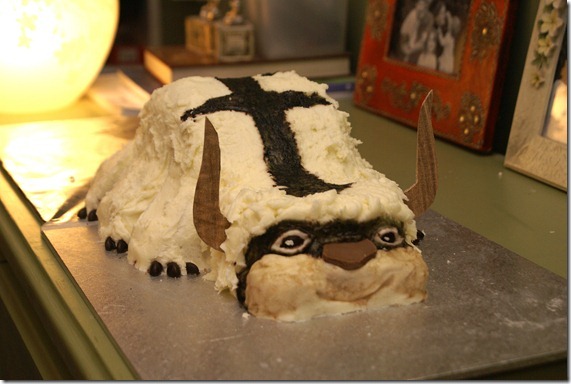
I totally forgot his horns poor Appa (I know I fail as a fan) so I just cut them out of cardboard. If you have any more cakie suggestions for horns leave them in the comments section below.

The cardboard horns were great and I had no idea they were a forgotten last minute thing. You could use flat wafers like you do for ice cream sandwiches, you’d probably have to dampen them slightly to cut them though.
oh yes ice cream wafers would be yummier than cardboard, thanks.
Dear Sarah,
Please accept the Mother of the year award!!!
Love,
Talia 😀
all I can say is “LOVE IT” great idea and thank you for sharing it!